1 · Main menu
Application command bar
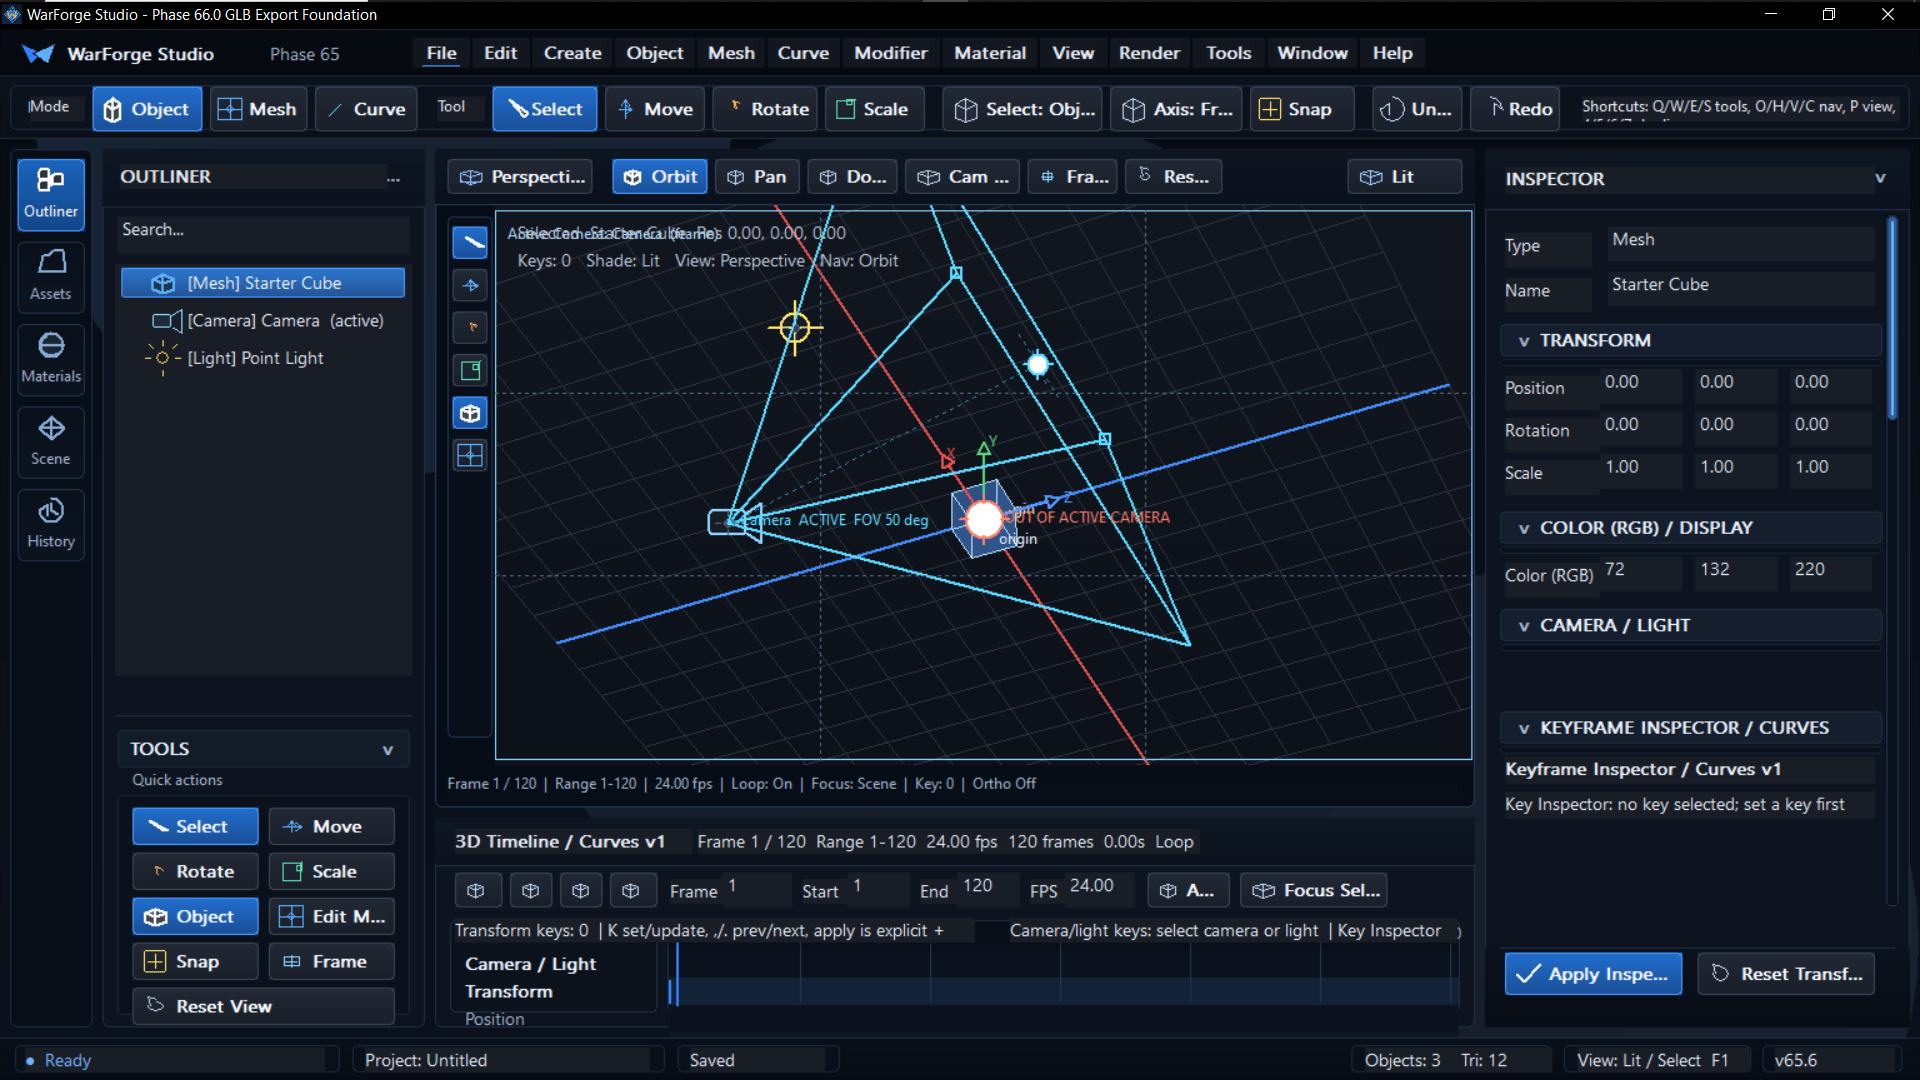
The top row groups commands by workflow: File, Edit, Create, Object, Mesh, Curve, Modifier, Material, View, Render, Tools, Window, and Help. It is the fastest route to project file actions, creation menus, export commands, object operations, modifier stacks, lighting controls, and timeline tools.
2 · Mode and tool strip
Object / Mesh / Curve workflows
The mode strip switches between Object, Mesh, and Curve workflows. The tool strip selects transform behavior: Select, Move, Rotate, Scale, object selection, axis constraint, snap, undo, and redo.
3 · Left rail
Workflow panels
The vertical rail exposes Outliner, Assets, Materials, Scene, and History panels. The startup view uses Outliner, showing scene objects like the starter cube, active camera, and point light. The Assets panel also exposes quick export and import actions.
4 · Outliner
Scene object navigation
The outliner lists meshes, cameras, lights, groups, empty objects, and other scene members. Use search to filter by object name, type, material, primitive, collection, or object identifier. Context actions support grouping, parenting, visibility, lock, duplicate, delete, reset transform, and camera operations.
5 · Viewport
Central 3D editing space
The viewport presents the grid, selected objects, camera frustum, light gizmos, active camera field of view, transform axes, origin, perspective / orthographic status, shading mode, and navigation mode. The visible toolbar includes orbit, pan, dolly, camera aim, frame selected, reset view, and shading controls.
6 · Inspector
Selected object properties
The inspector displays the selected object type, name, transform fields, display color values, camera / light controls, keyframe inspector fields, and notes. Collapsible sections keep editing focused without leaving the viewport.
7 · Timeline / curves
Frame-based control panel
The lower timeline panel shows current frame, start and end range, FPS, loop status, transform key counts, camera and light key hints, selected-object lanes, and key inspector information.
8 · Status bar
Project and viewport feedback
The bottom status strip reports readiness, project name, saved state, object and triangle counts, view / shading / tool state, and version status markers.